Add Multi-screen Support to SwiftUI Apps
iOS support for external displays has been around since iPhone OS 3.2 and the very first iPad. WWDC 2011(!) has a session covering AirPlay and external displays. Enthusiasm for developing multi screen apps beyond simple mirroring did not take off until the introduction of USB-C iPads Pro. There are many excellent tutorials on how to add external display support to a UIKit app and demos showing how doing so can provide a richer and more powerful app user experience. Geoff Hackworth, the creator of Adaptivity has a comprehensive technical guide on what to consider when considering external display support. My top takeaway from this post is:
An external display is just a display; there is no user-interaction (at least, not yet!) The user will need to continue interacting with your app’s interface. You should probably avoid placing standard iOS controls on the external display that could give the misleading impression of interactivity.
— External Display Support on iOS by Geoff Hackworth.
With that, here's how to extend your brand new iOS 14 SwiftUI lifecycle app to support external displays.
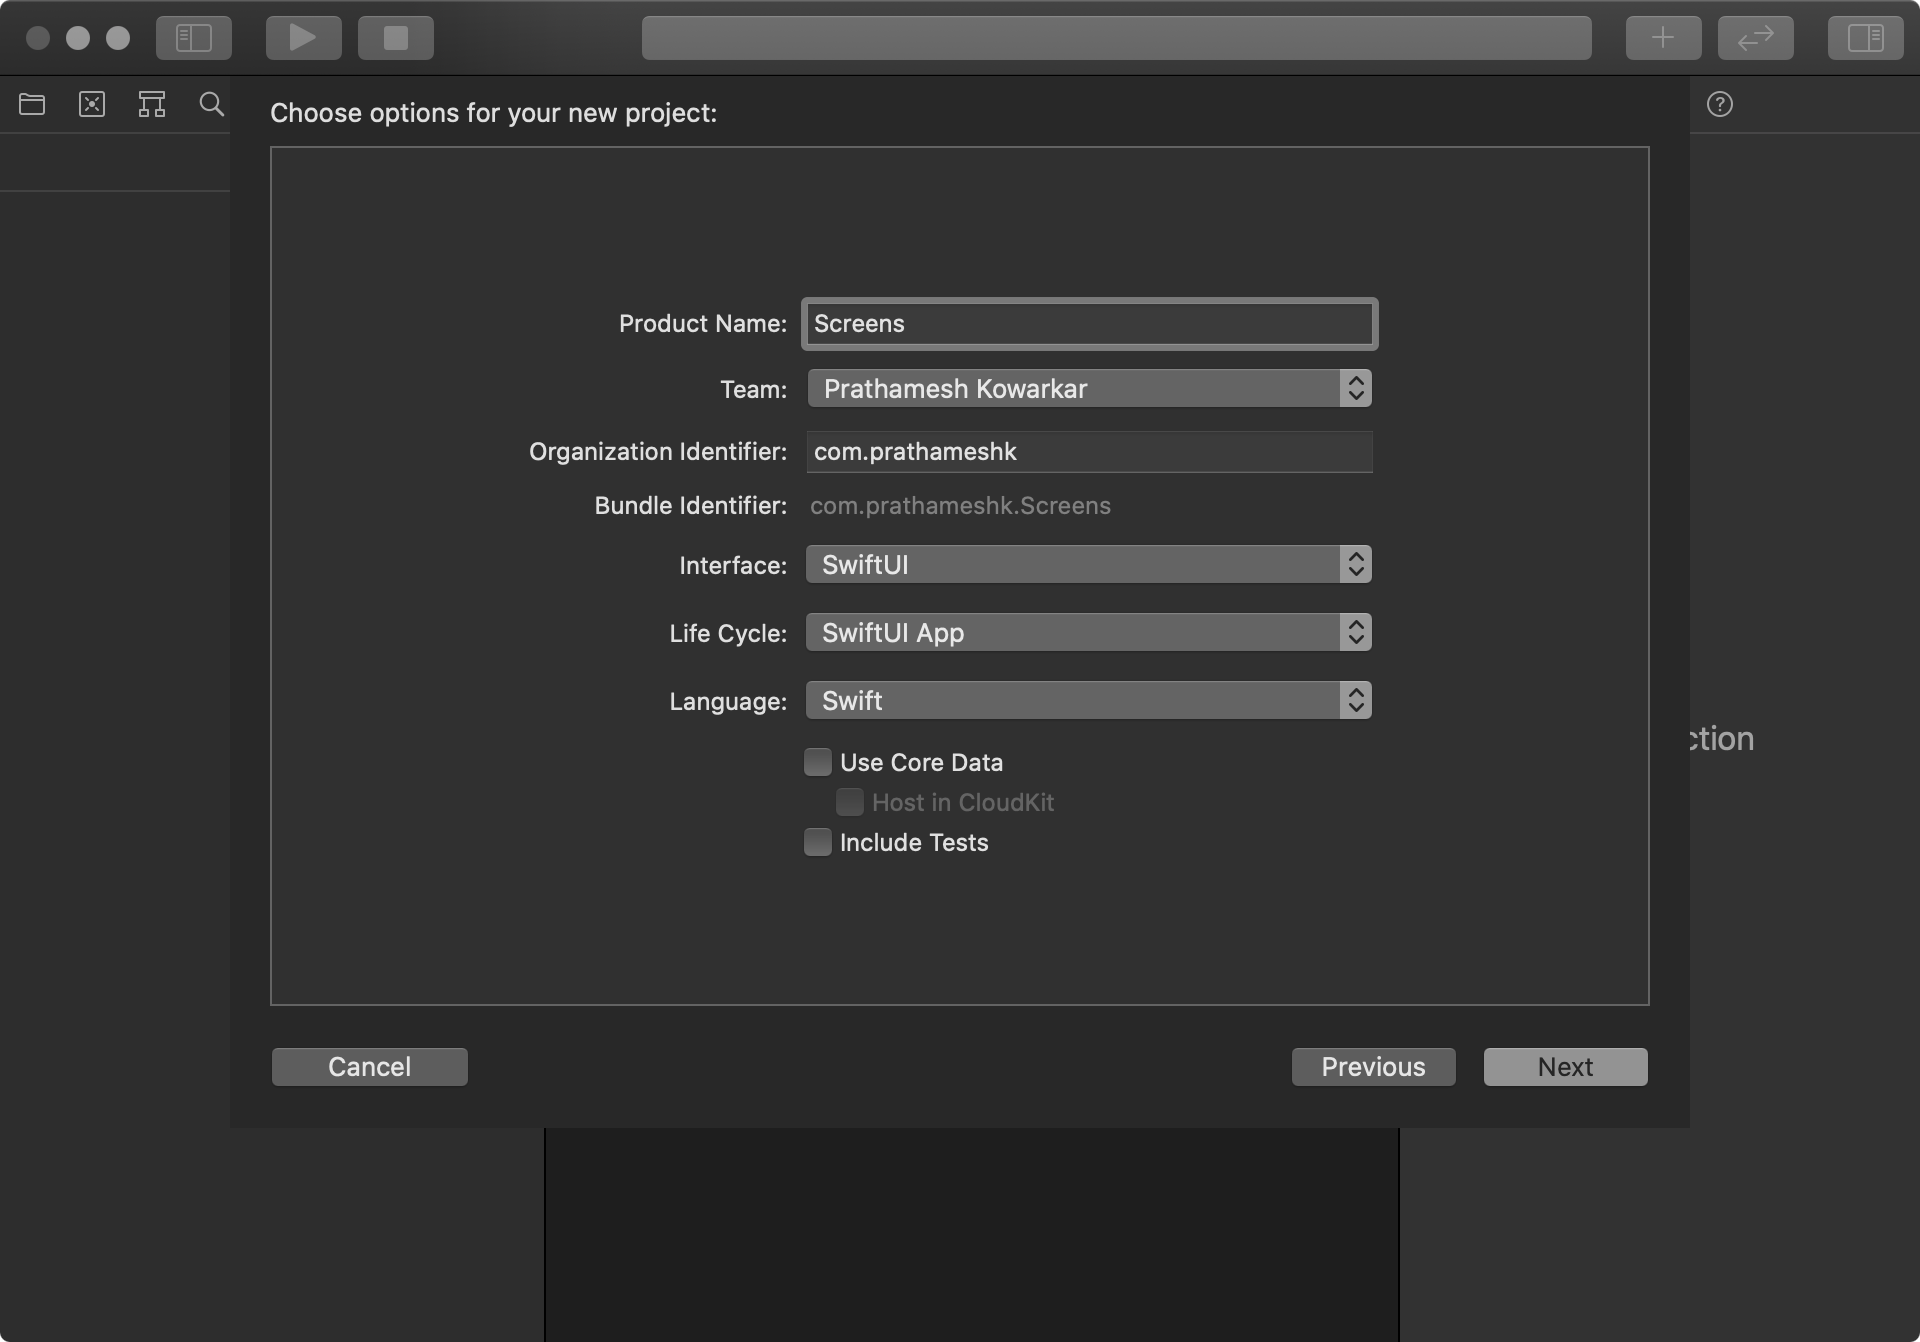
Start a new project
Make sure that app life cycle is set to SwiftUI App.

Add an ObservableObject shared between device screen and external display
Add a relevant property to be shared across screens. For this example I'm using a simple string that I will update on my device and will be visible on the external device. Also add a boolean flag that indicates whether content is showing on an external display.
//  ExternalDisplayContent.swift

class ExternalDisplayContent: ObservableObject {

    @Published var string = ""
    @Published var isShowingOnExternalDisplay = false

}
Update the object in the content view
Store an instance of the shared object created above at the app level. Pass this instance to the child view. For this example I am passing it as an environment object. Add a text field that updates the value of the shared object.
//  ContentView.swift

struct ContentView: View {

    @EnvironmentObject var externalDisplayContent: ExternalDisplayContent

    var body: some View {
        NavigationView {
            Form {
                if externalDisplayContent.isShowingOnExternalDisplay == false {
                    Section(header: Text("Output")) {
                        Text(externalDisplayContent.string)
                    }
                }
                Section(header: Text("Input")) {
                    TextField("Text", text: $externalDisplayContent.string)
                }
            }
            .navigationTitle("Screens")
        }
    }

}
// ScreensApp.swift
@main struct ScreensApp: App {
@ObservedObject var externalDisplayContent = ExternalDisplayContent()
var body: some Scene {
WindowGroup {
ContentView()
.environmentObject(externalDisplayContent)
}
}
}Add the view to be displayed on the external display
For this example I'm keeping it simple. Make a new view that references the external display content environment object and shows its string property as Text.
//  ExternalView.swift

struct ExternalView: View {

    @EnvironmentObject var externalDisplayContent: ExternalDisplayContent

    var body: some View {
        Text(externalDisplayContent.string)
    }

}
Listen for UIScreen (dis)connect notifications
Add convenience publisher properties for UIScreen.didConnectNotification and UIScreen.didDisconnectNotification. The former notification carries the new screen just connected while the former contains the old screen that just disconnected. Subscribe to these publishers and set isShowingOnExternalDisplay to true when the screen connects and false when the screen disconnects in their action closures. import Combine so the compiler knows what AnyPublisher is.
//  ScreensApp.swift

@main struct ScreensApp: App {

    @ObservedObject var externalDisplayContent = ExternalDisplayContent()

    private var screenDidConnectPublisher: AnyPublisher<UIScreen, Never> {
        NotificationCenter.default
            .publisher(for: UIScreen.didConnectNotification)
            .compactMap { $0.object as? UIScreen }
            .receive(on: RunLoop.main)
            .eraseToAnyPublisher()
    }

    private var screenDidDisconnectPublisher: AnyPublisher<UIScreen, Never> {
        NotificationCenter.default
            .publisher(for: UIScreen.didDisconnectNotification)
            .compactMap { $0.object as? UIScreen }
            .receive(on: RunLoop.main)
            .eraseToAnyPublisher()
    }

    var body: some Scene {
        WindowGroup {
            ContentView()
                .environmentObject(externalDisplayContent)
                .onReceive(
                    screenDidConnectPublisher,
                    perform: screenDidConnect
                )
                .onReceive(
                    screenDidDisconnectPublisher,
                    perform: screenDidDisconnect
                )
        }
    }

    private func screenDidConnect(_ screen: UIScreen) {
        //  Coming soon…
        externalDisplayContent.isShowingOnExternalDisplay = true
    }

    private func screenDidDisconnect(_ screen: UIScreen) {
        //  Coming soon…
        externalDisplayContent.isShowingOnExternalDisplay = false
    }

}
Manage screen connection
Create a UIWindow with the incoming screen's bounds as its frame. Setting a window's scene directly was deprecated in iOS 13 with the introduction of the UIScene API suite. So traverse the shared UIApplication's connectedScenes to find the first UIWindowScene whose screen is the incoming screen and set it as the new window's windowScene. Try saying that five times, quickly. Create a UIHostingController with the view for the external display and set it as the window's root view controller. All newly created windows are hidden by default so unhide the one created above. Store a reference to this window otherwise it will be deallocated as soon as this function returns.
//  ScreensApp.swift

@main struct ScreensApp: App {

    @ObservedObject var externalDisplayContent = ExternalDisplayContent()
    @State var additionalWindows: [UIWindow] = []

    ⋮

    private func screenDidConnect(_ screen: UIScreen) {
        let window = UIWindow(frame: screen.bounds)

        window.windowScene = UIApplication.shared.connectedScenes
            .first { ($0 as? UIWindowScene)?.screen == screen }
            as? UIWindowScene

        let view = ExternalView()
            .environmentObject(externalDisplayContent)
        let controller = UIHostingController(rootView: view)
        window.rootViewController = controller
        window.isHidden = false
        additionalWindows.append(window)
        externalDisplayContent.isShowingOnExternalDisplay = true
    }

    ⋮

}
Manage screen disconnection
Screen disconnection is relatively very trivial. Drop the reference the window of the discarded screen. In this example, remove the window from the stored array of windows.
//  ScreensApp.swift

@main struct ScreensApp: App {

    ⋮

    private func screenDidDisconnect(_ screen: UIScreen) {
        additionalWindows.removeAll { $0.screen == screen }
        externalDisplayContent.isShowingOnExternalDisplay = false
    }

}
Final result
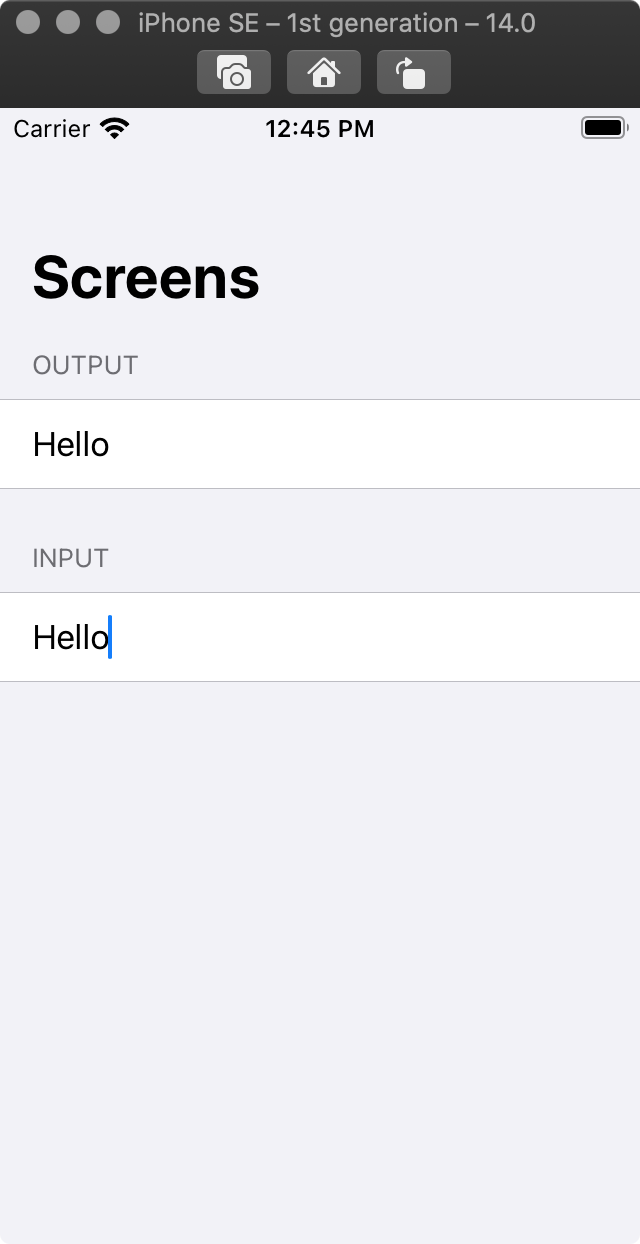
Run the app in the simulator. When no external display is connected, an output label with the constantly updated label should be visible above the input text field.

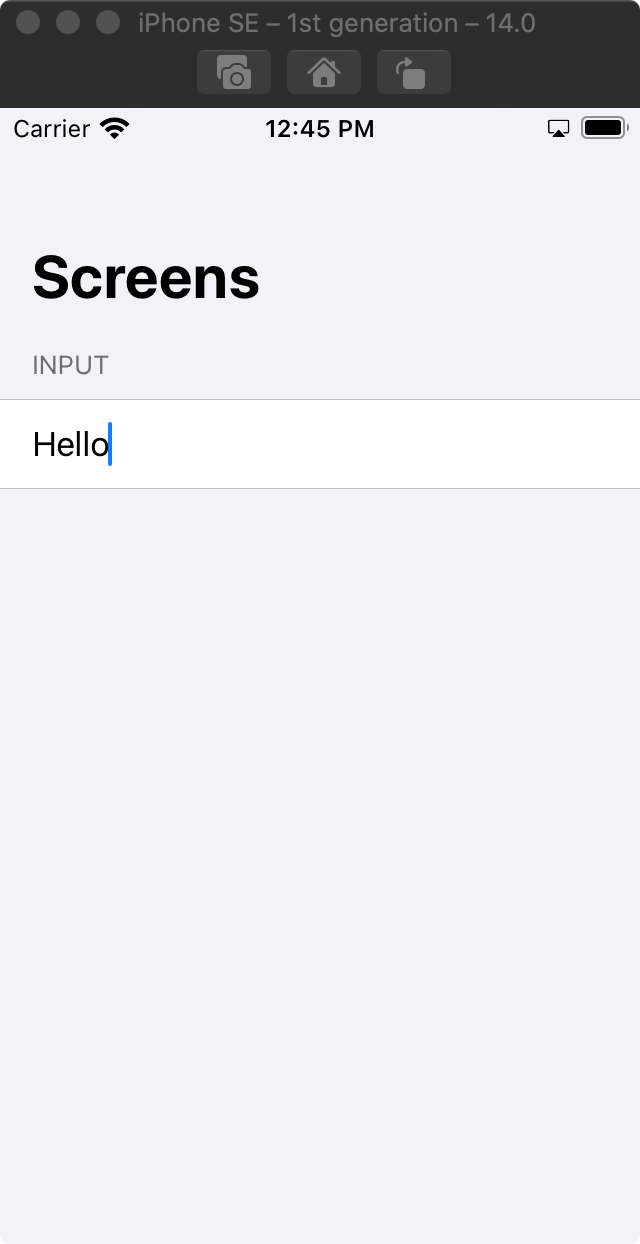
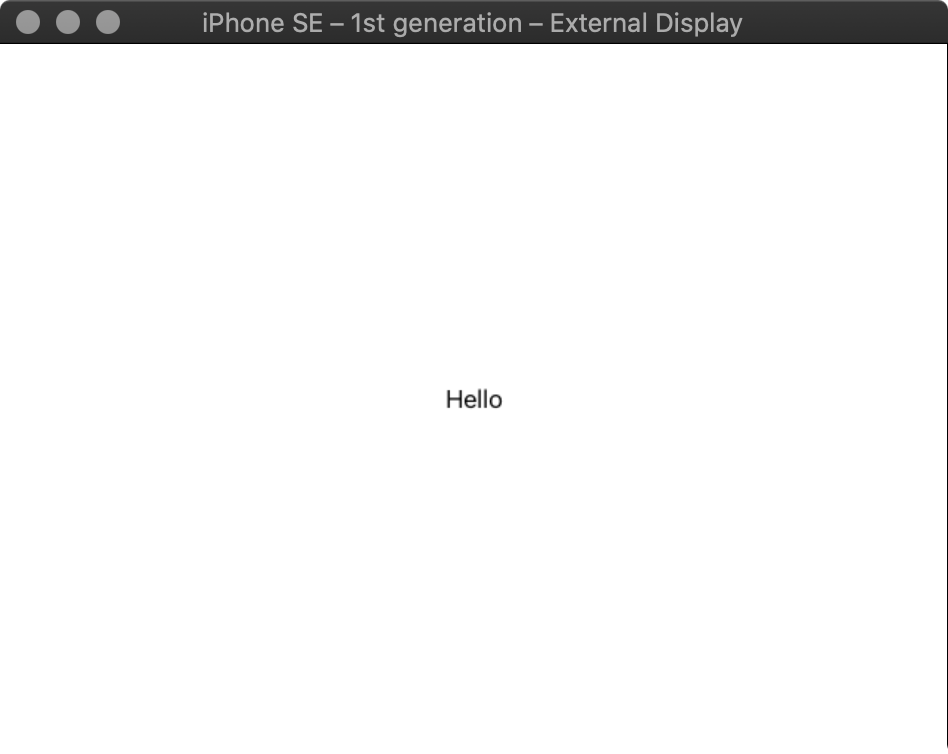
Connect an external display from I/O ❯ External Displays and watch the output label disappear from the device screen and appear on the external display. As you type on your screen, the text will update on the external display.


Close the external display window and the output string will reappear on your device.
Conclusion
Providing a multi-screen experience is easier than ever in SwiftUI with its powerful state-sharing APIs and first-class support for Combine-backed reactive programming powered by closures. This project is available on GitHub for reference and extension.